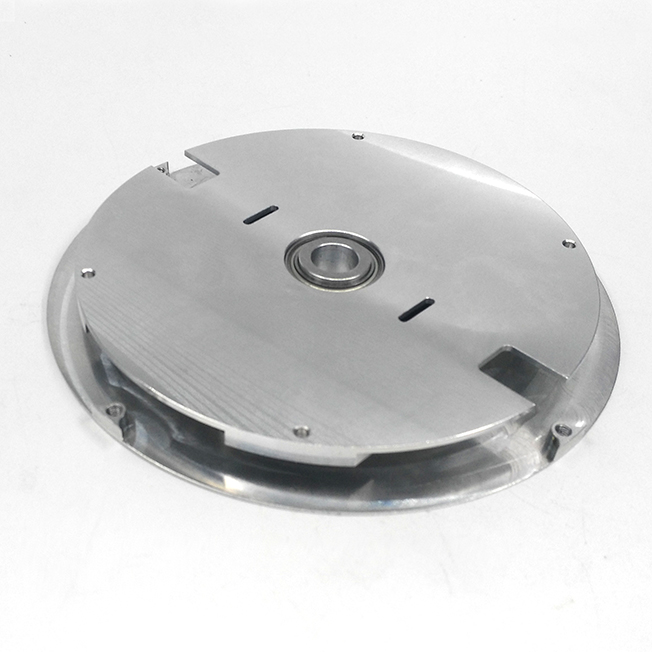
The technical and economic effects of lathe fixtures are very significant. Its functions can be summarized as follows: a. It can expand the working range of the machine tool.
The types and number of units are limited, and different fixtures can be used to realize multiple functions in one machine and increase the utilization rate of the machine tool. b. The quality of the workpiece can be stabilized. After the fixture is used, each table of the workpiece
The mutual position of the surfaces is guaranteed by the fixture, and the
Machining accuracy achieved by the scribe line alignment is higher, and the positioning accuracy and machining accuracy of the same batch of 1 piece can be basically the same.
Therefore, the interchangeability of workpieces is high. c. Improve productivity and reduce costs. The use of fixtures generally simplifies the installation work of the workpiece, thereby reducing the cost of installing the workpiece.
The auxiliary time required. At the same time, the use of fixtures can make the installation of the workpiece stable, improve the rigidity of the workpiece during processing, increase the amount of cutting, reduce the motor time, and improve
productivity. d. Improve working conditions. Using fixtures to install the workpiece is convenient, labor-saving and safe, which not only improves the working conditions, but also reduces the technical level of the workers.
Requirements.

1 Install the workpiece with a four-jaw chuck. Its four jaws move independently by 4 screws. It is characterized by being able to clamp non-rotating bodies with complex shapes such as squares
Shape, rectangle, etc., and the clamping force is large. Since it cannot be automatically centered after clamping, the clamping efficiency is low, and the marking plate or dial indicator must be used to find it when clamping.
Positive, align the center of rotation of the workpiece with the center of the lathe spindle.
2 Using the center to install the workpiece requires a high degree of coaxiality and needs to be turned to process the shaft workpiece. The double center is commonly used to clamp the workpiece. The front center is an ordinary center, which is installed in the spindle hole and rotates with the spindle. The rear center is The live center is installed in the tailstock sleeve. Artifact
The center hole is used between the front and rear centers, and the dial and the clamp rotate with the spindle. Attention should be paid to installing the workpiece with the center: a. The supporting screw on the clamp can not be supported too tightly to prevent the workpiece from deforming. b. Since the torque is transmitted by the clamp, the cutting amount of the turned workpiece should be small. c. When drilling the center holes at both ends, first use a turning tool to flatten the end face, and then use a center drill to drill the center hole. When installing the dial and the workpiece, first wipe the inner thread of the dial and the outer thread of the spindle end, screw the dial on the spindle, and then install one end of the shaft on the clamp. Finally, install the workpiece in the middle of the double center.
3 Use the mandrel to install the workpiece. When the inner hole is used as the positioning reference, and can
Ensure the coaxiality requirements of the axis of the outer circle and the axis of the inner hole. At this time, use the mandrel for positioning, and the workpiece is positioned by the cylindrical hole. Commonly used cylindrical mandrels and small taper mandrels;
For workpiece positioning of taper holes, threaded holes, and spline holes, the corresponding taper mandrels, threaded mandrels and spline mandrels are commonly used. Cylindrical mandrel is centering and end face of outer cylindrical surface
Compressed to clamp the workpiece. The mandrel and the workpiece hole generally use the clearance fit of H7/h6, H7/g6, so the workpiece can be easily sleeved on the mandrel. But due to cooperation
The clearance is relatively large, and generally it can only guarantee about 0.02mm of coaxiality. In order to eliminate the gap and improve the positioning accuracy of the mandrel, the mandrel can be made into a cone, but the cone of the cone
The degree is very small, otherwise the workpiece will be skewed on the mandrel. The commonly used taper is C=1/1000~1/5000. When positioning, the workpiece is wedged tightly on the mandrel, and the rear hole is wedged tightly
Will produce elastic deformation, so that the workpiece will not tilt. The advantage of the small taper mandrel is that it relies on the friction force generated by the wedge to drive the workpiece, and does not require other clamping devices.
The centering accuracy is high, up to 0.005~0.01mm. The disadvantage is that the axial direction of the workpiece cannot be positioned. When the diameter of the workpiece is not too large, a taper mandrel can be used (taper 1:
1000~1:2000). The workpiece is sleeved and pressed tightly, and it is fastened to the mandrel by friction. The taper mandrel has accurate centering, high machining accuracy, and convenient loading and unloading, but it cannot be withstood.
Excessive torque. When the diameter of the workpiece is large, a cylindrical mandrel with a compression nut should be used. Its clamping force is larger, but the centering accuracy is lower than that of the taper mandrel.
4 The use of the center frame and the tool rest. When the ratio of the length to the diameter of the workpiece is greater than 25 times (L/d>25), the
When the workpiece is subjected to cutting force, dead weight and centrifugal force during rotation, bending and vibration will occur, which will seriously affect its cylindricity and surface roughness.
During the cutting process, the workpiece is heated and elongated to produce bending deformation, turning is difficult to carry out, and in severe cases, the workpiece will be stuck between the centers. At this time, you need to use a center frame or a follower
To support the workpiece. 4.1 Use the center frame to support the slender shaft of the car. Generally, when turning the slender shaft, the center frame is used to increase the workpiece


